
What you'll need
Just the tools in your Biverio dashboard plus a few things from a nearby shop — nothing expensive or specialised.
* The links above are just examples of widely available devices and solutions — they are not Biverio purchase recommendations.
QR-code flyer
A flyer with a QR code is the simplest way for someone to reach your listing — walking past it or seeing it online. The same file from your dashboard goes out digitally and prints for the wall on site; laminating makes the printout survive rain, sun and being pinned up again and again.
-
Generate the flyer in your Biverio dashboardIn the dashboard open
Tools→Flyer generator, pick a venue and download the ready PDF. The flyer carries a QR code straight to your listing — once scanned, the guest immediately sees photos, prices and free dates. -
Send it out online tooThe same file works digitally: email the PDF or send it to the guest in a message, drop it in a local listings group, or save the page as an image (PNG/JPG) for a post or story on Instagram or Facebook. A ready caption for the post is generated in the same tool (
Generate caption). To keep posting regularly, useTools→Marketing calendar: it flags empty weekends and upcoming holidays and drafts a ready caption you can schedule. -
Print on heavier paper160–200 gsm paper holds up better after laminating than a plain office sheet. If you don't have any at home, copy shops usually list it.
-
Trim to the pouch sizeLeave a ~3–5 mm margin on each side so the laminator can seal the film all the way around the sheet, with no exposed paper edges.
-
Laminate the flyerA home laminator (A4 or A6 pouches, 80–125 microns) is plenty for the flyer and the cards in step 5. Put the sheet in the pouch, feed it in short edge first, and wait for the machine to warm up per its instructions.
-
Put it somewhere visibleA stairwell noticeboard, the mailbox area, the entrance gate, an estate reception desk — anywhere the flyer is exposed to the weather, laminating pays off.
Booking and payment
Biverio never processes payments — the deposit and the balance go straight from the guest to you. You run every step from the dashboard; it updates the booking status and emails the guest. The full walkthrough is in the "For hosts" section of how Biverio works and the bookings chapter of the host guide.
-
Booking requestThe guest scans the flyer's QR code, picks dates and a party size, and sends a request. They get an email confirming it reached you.
-
Confirmation and — optionally — a depositYou confirm the booking outright, or, if you require a deposit, send a preliminary confirmation. The guest gets an email with the deposit amount, a due date and your payment details — bank account number and/or BLIK phone number. Once the deposit lands, the dates are locked in.
-
The balance — three ways to payThe guest settles the rest one of three ways: bank transfer to your account, BLIK to your phone number, or cash on arrival. Transfer and BLIK details go out in the balance reminder you send from the dashboard whenever it suits you.
-
Settle it in the dashboardWhen the money arrives (transfer or BLIK) you click Confirm full payment. If you're agreeing to cash on site, you click Cash on arrival — the guest gets an email with the amount to bring. Either way unlocks the next steps: the check-in form and the door code.
Online check-in form
Biverio's check-in form is online — you send the guest a link before arrival and they fill it in from their phone. The details (full name, address, ID document, citizenship, date and place of birth, party size, whether they're bringing a pet) land in your inbox straight away; the guest gets their own confirmation. Biverio never stores this data.
-
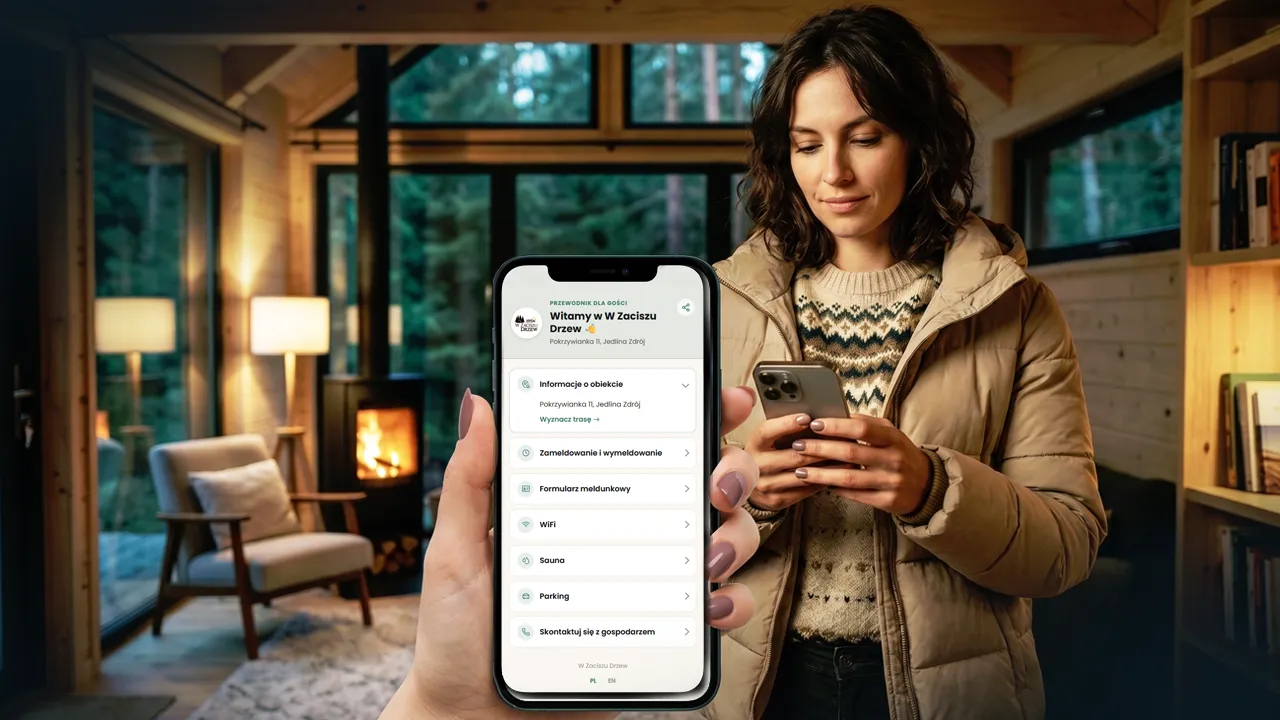
Send the guest the form linkFrom the dashboard you send a separate message (email or SMS) with no payment content — or you share the guest guide link, which has the check-in form built in.
-
The guest fills it in online before arrivalThey open the link on their phone, enter their check-in details and submit. Nothing to print, scan or hand over on site.
-
The complete details reach your emailThe data arrives in your inbox as soon as the guest submits, and the guest gets a confirmation that the form reached you.
Door code — self check-in
The guest gets the code only after the payment is settled (transfer, BLIK) or after you've marked "Cash on arrival" — until then, the door stays locked. Pick the approach that fits the door you have.
-
Option A — an outdoor key lockbox with a codeMount the key safe permanently by the entrance (wall, door frame, a pipe bracket) — out of passers-by's sight, but easy to find with the instructions in hand. Put the door key inside.
-
Option B — a keypad handle or lockAn electronic code handle replaces the key entirely — the guest enters the code on the door itself. More convenient with frequent guest turnover, since you don't have to physically swap a key in the box.
-
Set a new code before every stayChange the code after every checkout — in both a lockbox and an electronic handle this is usually 30 seconds in the device menu. Never leave the same code for the next guest.
-
Test the code before the guest arrivesOpen the box or door with the new code yourself before you send it on — a mistake is easier to fix now than to explain to a guest standing at the door in the evening.
-
Send the code via the "Access instructions" step in BiverioOnce the payment is settled or cash on arrival is agreed, use your Biverio dashboard to send the guest — by email or SMS — the lockbox code, any directions, and your phone number just in case. When the guest says they've arrived, click "Confirm check-in".
On-site materials
A few laminated cards left in the property answer the guest's most common questions and cut down on messages to you during the stay. Make each one in the Tools tab and laminate it the same way as the step 1 flyer.
-
WiFi cardA printout with the network name and a scan-to-join QR code — the guest connects without typing the password. Hang it by the entrance or next to the router.
-
Venue regulationThe generated PDF (bookings, deposit, quiet hours, check-in, GDPR). Print it and leave it somewhere visible — the same text the guest accepted when booking.
-
Sauna, hot tub or jacuzzi rulesIf the property has a sauna, hot tub or jacuzzi, generate a separate safe-use guide for each (temperature, time limits, health contraindications, water care). Print it, laminate it and hang it right next to the equipment.
-
Emergency contact cardYour phone number, the emergency number 112, and the nearest hospital and pharmacy — for when something happens and you're not nearby.
Before every guest arrives
Set up once, works for every guest after that.
Every tool mentioned in this course — the flyer generator, marketing calendar, regulation generator, WiFi card, emergency contact card — lives in your Biverio dashboard under Tools, once your venue is published. Each one is described in full in the host guide, and the whole process at a glance is on the how Biverio works page.